Showing posts with label Dessert. Show all posts

Thursday, March 24, 2011

What Grammy Left Behind

Allow me to introduce my grandmother, Virginia Mae Hall.


She was a special woman who affected my life profoundly in a number of ways, and I know there are many out there who would say the same. She died about six years ago this March, and every year as the morose date approaches, I experience the same emotion. It’s not sadness or anxiety or longing, although those feelings still strike me at random times- driving in the car, doing the dishes, reading a book before bed. No, it’s a feeling of complete and total gratitude for having had her in my life that wraps itself around me every March 2nd.

People who have been lucky like I have understand what makes a wonderful grandparent. Yes, spoiling is usually a part of it, not necessarily in money or things, but in time, patience, stories and laughter. The feeling I most associate with her is an overwhelming one of love and acceptance. She had an amazing outlook on life, and even when things got dark or depressing, she managed to find something to laugh about.

I will never forget that about her.

Grammy is the person who planted the seed for my love of baking and ultimately cooking. Though I’ve mentioned it before (and I’m sure I’ll mention it again), my family spent our summers and winter breaks with my grandparents at their home in Calistoga every year. I looked forward to the treats she whipped up for us, and eventually became interested enough to help her make them. Seven layer bars, chocolate chip cookies, apple crisp… All made her kitchen and home smell amazing, and few desserts survived the next day.


Sometimes when I stumble across the recipe for an amazing sweet piece of decadence, I like to imagine Grammy being the one who led me to it. The brownie recipe below was discovered in Bon Appetit’s February issue and was baked for my best friend’s birthday at the beginning of March. I know my grandmother would approve of its fudgy middle and slightly crackly top, and she would certainly endorse the use of treats to enhance any celebration.

That’s another thing I loved about her, but truly… it’s only one in a list of a million.


Happy eating,

Elizabeth

Cocoa Brownies with Browned Butter and Walnuts

Nonstick vegetable oil spray
10 Tablespoons unsalted butter, cut into 1-inch pieces
1 ¼ cups sugar
¾ cups natural unsweetened cocoa powder (spooned into cup to measure, then leveled)
2 teaspoons water
1 teaspoon vanilla extract
¼ teaspoon salt
2 large eggs, chilled
1/3 cup plus 1 Tablespoon unbleached all purpose flour
1 cup walnut pieces

Position rack in bottom third of oven; preheat to 325 degrees Fahrenheit. Line 8x8x2 inch metal baking pan with foil, pressing foil firmly against pan sides and leaving 2 inch overhamg. Coat foil with nonstick spray.

Melt butter in medium saucepan over medium heat. Continue cooking until butter stops foaming and browned bits form at bottom of pan, stirring often, about 5 minutes. 


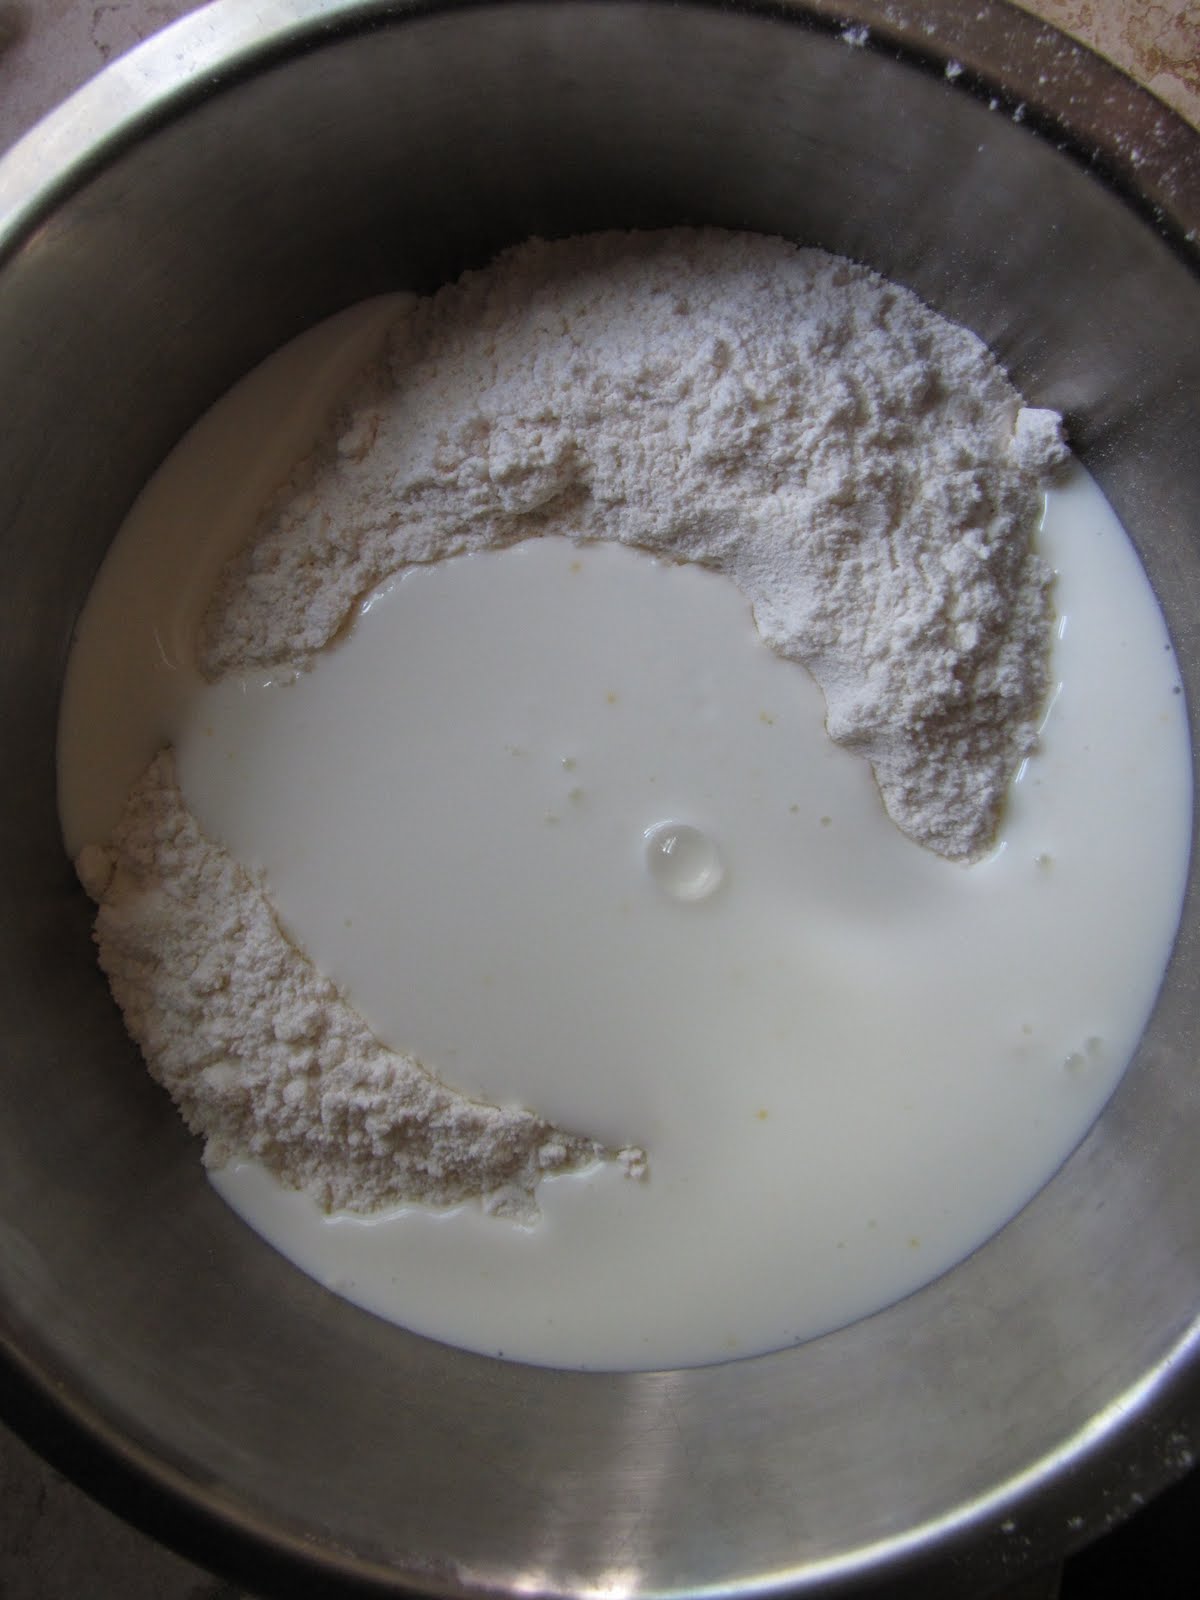
Remove from heat; immediately add sugar, cocoa, 2 teaspoons water, vanilla, and ¼ teaspoon (generous) salt. Let cool 5 minutes (mixture will still be hot). Add eggs to hot mixture one at a time, beating vigorously to blend after each addition. When mixture looks thick and shiny, add flour and stir until blended. Beat vigorously 60 strokes. Stir in nuts. Transfer batter to prepared pan.


Bake brownies until toothpick inserted into center comes out almost clean (with a few moist crumbs attached), about 25 minutes. Cool in pan on rack. Using foil overhang, lift brownies from pan. Cut into 4 strips. Cut each strip into 4 brownies.

Tip: I didn’t have a square pan, so I used an 8” round and it worked just fine.

Wednesday, March 2, 2011

Ranger Cookies


These are a scrumptious treat that have been around so long that no one seems to know where they started. I asked my mom where she discovered them and after admitting she had no memory of their origin, referred me to her sister, Auntie Kitty, who said my brother asked for them one day out of the clear blue. Without shock or surprise, he too was clueless.


Through a series of inquiries and interrogations, the story I've pieced together is that Auntie Kitty saw the recipe in the newspaper one day and cut it out, a habit she maintains to this day. According to her, Kyle heard about these "really cool cookies" from his friends on the playground and begged my mom to make the Ranger Cookies one afternoon. 


This was before the convenient days of the internet, so where should one turn to find a recipe they didn't already have? You call Auntie Kitty, Queen of Sweets, who over the years has logged thousands of recipes from various publications. My mom did as all of us do, which led to our introduction to Ranger cookies, a move that hooked us for life.

Between Elizabeth and me, I am definitely not the baker. I find it to be a tedious and laborious process that I usually mess up during the step where you measure the ingredients. I don't like the fact that I can't fix my mistakes the way I can when I am cooking. I have even been known to screw up a pumpkin pie, a crime in the Sutherland clan. Any baking knowledge I have at all I owe to my mom’s side of the family. Every holiday was chock full of any sweet imaginable: 47-layer cakes, pies, Mexican wedding cookies, walnut laden fudge and lollipops to boot!

These cookies are my saving grace. They don't make me sweat, they don't scare or give me anxiety before I take them out of the oven. They are so simple to make, I don’t even bother with an electric mixer. If you choose to mix by hand as well, stir to combine ingredients after each new addition. This will prevent clumps from forming and keep the batter smooth--a trick I learned from my Auntie Kitty. Another tip is that all ovens are different, and things do not always bake according to the specifications of the recipe. Because of this, she advised me to check the cookies 2 minutes before the suggested time. When the cookies are done, their bottoms will be a lovely golden brown color.  

One last thought on the matter: These cookies could almost be called "butter-pecan ice cream cookies". They are studded with pecans and buttery while still being flakey and light. Plus, they have coconut, which happens to be of my favorite foods... of all time! Please, take my word and try these cookies already. 


Ranger cookies are best eaten fresh out of the oven with a tall glass of cold milk.

Happy eating,
Lindsay


Ranger Cookies

1 cup butter, room temperature (2 sticks)
1 cup white granulated sugar
1 cup light brown sugar, loosely packed
1 egg
1 cup oil
1 cup rolled oats
1 cup corn flakes, crushed *
½ cup shredded coconut
½ cup pecans, chopped
1 teaspoon vanilla
3½ cups flour
1 teaspoon baking soda
1 teaspoon salt

Preheat the oven to 350°F.  If you have an electric mixture, use the paddle attachment to make the dough. Otherwise, a regular medium-sized bowl and some good ‘ol fashioned elbow grease will be just fine.

Begin by creaming the butter. Add both the white and brown sugars until light and fluffy. Add in the egg** and oil and mix well. Add oats, corn flakes, coconut, pecans and vanilla. Stir well until ingredients are fully incorporated.


Measure the flour and level with the flat side of a knife; sift onto a cutting board or parchment/wax paper. Working in batches, little by little mix the flour into the wet ingredients. Add salt and baking soda. Mix well.


Form dough into 1-inch balls, taking care that they are uniform so they bake evenly. Place dough balls on an ungreased cookie sheet, 1 ½ to 2 inches apart. Flatten them with a fork dipped into water. Bake for ten minutes, or until cookie bottoms are golden brown.


* I’ve found that the best way to crush corn flakes is by first measuring the cereal, then putting it in a ziplock bag and crushing with your fist or rolling pin.
** As I've watched Ina Garten do time and again... It’s best to crack the egg into a small bowl before adding to the mixture. That way, if you happen to get a bit of shell in, you can fish it out before it gets lost forever.

Friday, June 18, 2010

The Man Himself

It’s Thomas Keller Day on Knife and Fork Adventures, and what better way to celebrate him than by cooking up some of his food?  I've been an admirer of the man for some time.  I spent my summers and winter holidays in the Napa Valley with my grandparents as a child, and feel an immediate connection to others who love and understand the valley for what it was and what it has become (whether those others know it or not!).  Anywho, I recently had the pleasure of meeting him twice in one weekend, and if it weren’t for the spectacular wedding that followed our encounters, I’d have to say it was the highlight of my month!


My mother-in-law, Cyndi, saw that Chef Keller would be signing copies of his latest family-style cookbook, ad hoc at home, at their local Williams-Sonoma.  Normally, I’m not in San Diego during the week, but due to the previously mentioned nuptials fabuleux, I was!  Lindsay was unable to get out of work early and hop a flight out of San Francisco, thus, the two of us trekked down there, sans-Linds (although we did snag an extra copy of his book to be signed for her).  


We arrived two hours early thinking the line would be atrocious and were delighted to discover that the line only nears the atrocious-mark when you’re about an hour out from his arrival.  The lovely staff at WS was serving up mini Sprinkles cupcakes and sparkling lemonade which certainly made the anticipation to meet him all the more sweet.

Let me say this: he is a true gentleman.  Not only did Chef Keller show up early to get things rolling, he allegedly stays until every person in line has a signed book.  I didn’t wait around to confirm that rumor, but I’ll take his staff’s word for it.  

Once Cyndi and I had our chance to meet him (I should also mention I have a photo of the two of us with him, but alas, my small camera is broken!), I was astounded to discover how regal his penmanship is; is there anything that man can’t do?  


The next day, we were staying at this grand property for the wedding.  Linds had flown in the night before, and while she was delighted to have a signed copy of his book, she was still bummed she hadn’t had the chance to meet him in person.  We had all gathered in the lobby prior to the rehearsal dinner, and were making our way out to the evening’s party bus, when I spotted a tall man with excellent posture waiting for his car.  I looked. I looked again.  I did a triple take; it was Chef Keller!

First, I grabbed Cyndi who was nearest, and proceeded to loiter hoping Linds would show up before he hopped in his vehicle (I have to interject here- I’m afraid I may have bombarded the poor man.  He looked a little caught off guard. Thomas, if by a shot in hell you are reading this, I'm sorry).  She soon walked out the door and the look of shocked delight on her face was possibly the third best thing to happen in my month of May!

We decided to rejoice in our meeting with celebrated Chef Keller by whipping up some recipes from ad hoc.  Since dear Thomas wrote, “It’s all about family” in every book he signed, I chose to whip up some of his food for my husband’s celebratory birthday dinner with friends a few weeks later.  

(Thank you for being such a good sport, Micaela. The birthday boy and his bestie get F's in the participation department)

The menu consisted of whole roasted chicken on a bed of root vegetables, garlic mashed potatoes (I used his garlic confit oil recipe to roast the garlic), mixed greens with mustard vinaigrette, and strawberry shortcake with buttermilk biscuits. The results were all that I had hoped for: beautiful, simple and delicious. I urge you to immediately go out, buy his wonderful book and whip up something for you and your loved ones. You won't regret it... Promise.

Happy Eating,
Elizabeth

Whole Roasted Chicken on a Bed of Root Vegetables
Serves 4

One 4 to 4 1/2 pound chicken
Kosher salt and freshly ground pepper
6 garlic cloves smashed, and peeled
6 thyme sprigs
2 large leeks
3 tennis ball-sized rutabagas
2 tennis ball-sized turnips
4 medium carrots, peeled, trimmed and cut in half
1 small yellow onion, trimmed, leaving root end intact, and cut into quarters
8 small (golf-ball-sized) red-skinned potatoes
1/3 cup canola oil
4 tablespoons unsalted butter, at room temperature


Remove the chicken from the refrigerator and let stand at room temperature for 1 1/2 to 2 hours or until it comes to room temperature (if you have a day or two prior to cooking, Chef Keller suggests leaving the chicken uncovered in the refrigerator.  It dries the skin out, which helps it crisp when it's roasting.  I tried his method and it looked GORGEOUS when I pulled it out of the oven). Preheat the oven to 475 degrees.


Remove the neck and innards if they are still in the cavity of the chicken.  Use a paring knife, cut out the wishbone from the chicken (this will make it easier to carve later).  Generously season the cavity of the chicken with salt and pepper, add 3 of the garlic cloves and 5 sprigs of thyme, and massage the inside of the bird to infuse it with the flavors.  Truss the chicken. 


Cut off the dark green leaves from the top of the leeks. Trim off and discard any darkened outer layers. Trim the root ends, cutting around them on a 45 degree angle.  Slit the leeks lengthwise, almost in half, starting 1/2 inch above the root ends.  Rinse the leeks well under warm water.  

Cut off both ends of the rutabagas. Stand the rutabagas on end and cut away the skin, working from top to bottom and removing any tough outer layers. Cut into 3/4-inch wedges. Repeat with the turnips, cutting the wedges to match the size of the rutabagas. 


Combine all the vegetables and the remaining garlic cloves and thyme sprig in a large bowl.  Toss with 1/4 cup of the oil and and season with salt and pepper.  Spread the vegetables in a large cast-iron skillet or roasting pan.  


Rub the remaining oil all over the chicken.  Season generously with salt and pepper.


Make a nest in the center of the vegetables and nestle the chicken in it.  Cut the butter into 4 or 5 pieces and place over the chicken breast.


 Put the chicken in the oven and roast for 25 minutes. Reduce the heat to 400 degrees Fahrenheit and roast for an additional 45 minutes, or until the thermometer registers 160 degrees in the meatiest portions of the bird- the thighs and under the breast where the thigh meets the breast- and the juices run clear. If necessary, return the bird to the oven for more roasting, checking every 5 minutes.   


Transfer the chicken to a carving board and let rest for 20 minutes. (I should mention here that I forgot to take a picture of the chicken after I pulled it out of the oven.  I am still kicking myself). 

Just before serving, set the pan of vegetables over medium heat and reheat the vegetables, turning them and glazing them with the pan juices.  Cut the chicken into serving pieces, arrange over the vegetables, and serve.

(This photo really doesn't do the deliciousness of this chicken justice)

Buttermilk Biscuits*
Makes 12 biscuits

2 cups cake flour
2 cups all-purpose flour
1 Tablespoon plus 1 teaspoon kosher salt
1 Tablespoon baking powder
1 teaspoon baking soda
1/2 pound (2 sticks) unsalted butter, cut into 1/2-inch cubes and chilled
1 1/2 cups buttermilk, plus 1 to 2 Tablespoons for brushing
2 to 3 Tablespoons unsalted butter, melted

Preheat oven to 425 degrees. Line a baking sheet with parchment paper.

Combine the flours, salt, baking powder and baking soda in the bowl of a food processor and pulse a few times, until the pieces of the butter are no bigger than small peas.  Do not overprocess; the dough should not come together.

Transfer the dough to a large bowl and make a well in the center of the flour mixture.  Pour in the buttermilk.  

(Did I do this correctly, Chef?)

Stir and lift the mixture with a sturdy spoon, gently working the flour into the buttermilk.  The dough should begin to come together but not form a solid mass, or the biscuits may be tough.  

 
Dust a work surface with flour and turn out the dough.  Pat the dough into a 3/4-inch-thick rectangle.  Using a 2 1/2 inch round cutter, cut out the biscuits (if the cutter sticks to the dough, dip it in flour before cutting).  Place the biscuits on the baking sheet.  The dough trimmings can be gently pushed together, patted out, and cut one more time; do not overwork the dough. 


Brush the tops of the biscuits lightly with buttermilk.  Bake for 15 to 18 minutes, rotating the pan halfway through baking, until a rich golden brown.  As soon as you remove the biscuits from the oven, brush the tops with melted butter.  Serve warm.  


* I used this buttermilk biscuit recipe for the strawberry shortcakes I made later in the evening.  To get the strawberry shortcake recipe, as well as those for the garlic confit, mashed potatoes and mustard vinaigrette, please purchase a copy of ad hoc at home.  


Tuesday, April 27, 2010

Oatmeal Chocolate Chip Cookies

I have a confession to make.  I don’t bake cookies to eat them; I bake cookies to eat the dough.  Sure, I might bring myself to eat one or two once they’re out of the oven, but truly, there’s nothing that leaves me in more joyous anticipation than the promise of a bowl of cookie dough, especially that of the oatmeal chocolate chip variety.


I attribute my love of baking to my grandma; Grammy, if you will. She baked for the hell of it.  For one month every summer my sister, mom and I would live with them at their home in the Napa Valley. During lazy afternoons, in between hours spent in the pool, running through the vineyards and sprawled on her bed watching “Saved by the Bell” re-reruns, she would announce, “Girls, I was thinking of baking something today.”  Normally, my sister chose spending time with Papa over cooking in the kitchen, but I never let an opportunity pass me by.  She would have me run out to the pantry in the garage, grab a bag of chocolate chips and any other necessary ingredients, and away we would go.  She trusted me with certain steps that many adults are weary of young children doing, like cracking eggs, or stirring the dry components into the wet.  When completed, we would place the freshly baked goods into a jar shaped like a bumpkin lamb’s head. That’s right; a bumpkin lamb’s head.


When I reached high school, I went through a three month period of craving cookie dough all the time.  I started baking two to three times a week, and would bring the rewards of my effort to school to give to my classmates.  There are very few reliable truths in this world, but one cannot deny the magnetic allure of sugary treats to perpetually starving teenagers.  

It was at this time my devotion to oatmeal chocolate chip cookie dough was born.  I am a texture person, and the feel of oatmeal, chocolate and pecans swirled through soft chunks of dough is, well, making my mouth water just thinking about it.


I came up with this recipe a couple years ago.  At the time, I was surfing the Internet looking for a new cookie recipe to try, and found three that simultaneously intrigued me. I didn’t have time to make three separate cookies, and thus, combined all to make one killer treat. Granted, I no longer have voracious youngsters to wolf down my goods, but my husband does a pretty good job of polishing them off. The dough* is divine and so is the cookie.  I encourage you to eat equal amounts of both.  


Happy Eating,
Elizabeth

Oatmeal Chocolate Chip Cookies

1 cup butter, room temperature
1 cup packed dark brown sugar
½ cup plus 2 tablespoons white sugar
2 large eggs (preferably free range organic!)
1 teaspoon vanilla
2 cups plus 2 tablespoons flour
3/4 teaspoon baking soda
½ teaspoon salt
1 teaspoon cinnamon
2 ½ cups rolled oats
2 cups chocolate chips
1 cup chopped pecans or walnuts (optional, obviously, but so good!)

Preheat oven to 350 degrees. Lightly grease two baking sheets.  In a large bowl, beat butter and both sugars until light, fluffy and well blended. Beat in each egg, one at a time, then add vanilla.  Set aside.

In a separate bowl, combine flour, baking soda, salt and cinnamon.  Sift over butter mixture (if you don’t have an instrument to do this with, just add it slowly to the butter mixture, in small batches); stir to blend.  

One at a time, mix in oats, chocolate chips and pecans.  Drop dough onto sheet by rounded tablespoons onto prepared baking sheets.  Bake 14 minutes (cookies should be lightly golden around bottom edges).  Transfer to baking rack to cool.


*  Yes, I get it; some of you are worried about eating raw cookie dough because of the chance of contracting salmonella.  My mom is a nurse and is constantly nagging me of this possibility, so I thought I should at least acknowledge it: You can get salmonella from eating food with raw egg in it.  However, I have been eating raw cookie dough for the last 25 years and have yet to get sick.  I will continue to eat it until or unless it happens.  The ball’s in your court; decide for yourself!
Related Posts Plugin for WordPress, Blogger...