My mother-in-law, Cyndi, saw that Chef Keller would be signing copies of his latest family-style cookbook, ad hoc at home, at their local Williams-Sonoma. Normally, I’m not in San Diego during the week, but due to the previously mentioned nuptials fabuleux, I was! Lindsay was unable to get out of work early and hop a flight out of San Francisco, thus, the two of us trekked down there, sans-Linds (although we did snag an extra copy of his book to be signed for her).
We arrived two hours early thinking the line would be atrocious and were delighted to discover that the line only nears the atrocious-mark when you’re about an hour out from his arrival. The lovely staff at WS was serving up mini Sprinkles cupcakes and sparkling lemonade which certainly made the anticipation to meet him all the more sweet.
Let me say this: he is a true gentleman. Not only did Chef Keller show up early to get things rolling, he allegedly stays until every person in line has a signed book. I didn’t wait around to confirm that rumor, but I’ll take his staff’s word for it.
Once Cyndi and I had our chance to meet him (I should also mention I have a photo of the two of us with him, but alas, my small camera is broken!), I was astounded to discover how regal his penmanship is; is there anything that man can’t do?

The next day, we were staying at this grand property for the wedding. Linds had flown in the night before, and while she was delighted to have a signed copy of his book, she was still bummed she hadn’t had the chance to meet him in person. We had all gathered in the lobby prior to the rehearsal dinner, and were making our way out to the evening’s party bus, when I spotted a tall man with excellent posture waiting for his car. I looked. I looked again. I did a triple take; it was Chef Keller!
First, I grabbed Cyndi who was nearest, and proceeded to loiter hoping Linds would show up before he hopped in his vehicle (I have to interject here- I’m afraid I may have bombarded the poor man. He looked a little caught off guard. Thomas, if by a shot in hell you are reading this, I'm sorry). She soon walked out the door and the look of shocked delight on her face was possibly the third best thing to happen in my month of May!
We decided to rejoice in our meeting with celebrated Chef Keller by whipping up some recipes from ad hoc. Since dear Thomas wrote, “It’s all about family” in every book he signed, I chose to whip up some of his food for my husband’s celebratory birthday dinner with friends a few weeks later.

(Thank you for being such a good sport, Micaela. The birthday boy and his bestie get F's in the participation department)
The menu consisted of whole roasted chicken on a bed of root vegetables, garlic mashed potatoes (I used his garlic confit oil recipe to roast the garlic), mixed greens with mustard vinaigrette, and strawberry shortcake with buttermilk biscuits. The results were all that I had hoped for: beautiful, simple and delicious. I urge you to immediately go out, buy his wonderful book and whip up something for you and your loved ones. You won't regret it... Promise.
Happy Eating,
ElizabethWhole Roasted Chicken on a Bed of Root Vegetables
Serves 4
One 4 to 4 1/2 pound chicken
Kosher salt and freshly ground pepper
6 garlic cloves smashed, and peeled
6 thyme sprigs
2 large leeks
3 tennis ball-sized rutabagas
2 tennis ball-sized turnips
4 medium carrots, peeled, trimmed and cut in half
1 small yellow onion, trimmed, leaving root end intact, and cut into quarters
8 small (golf-ball-sized) red-skinned potatoes
1/3 cup canola oil
4 tablespoons unsalted butter, at room temperature
Remove the chicken from the refrigerator and let stand at room temperature for 1 1/2 to 2 hours or until it comes to room temperature (if you have a day or two prior to cooking, Chef Keller suggests leaving the chicken uncovered in the refrigerator. It dries the skin out, which helps it crisp when it's roasting. I tried his method and it looked GORGEOUS when I pulled it out of the oven). Preheat the oven to 475 degrees.
Remove the neck and innards if they are still in the cavity of the chicken. Use a paring knife, cut out the wishbone from the chicken (this will make it easier to carve later). Generously season the cavity of the chicken with salt and pepper, add 3 of the garlic cloves and 5 sprigs of thyme, and massage the inside of the bird to infuse it with the flavors. Truss the chicken.

Cut off the dark green leaves from the top of the leeks. Trim off and discard any darkened outer layers. Trim the root ends, cutting around them on a 45 degree angle. Slit the leeks lengthwise, almost in half, starting 1/2 inch above the root ends. Rinse the leeks well under warm water.
Cut off both ends of the rutabagas. Stand the rutabagas on end and cut away the skin, working from top to bottom and removing any tough outer layers. Cut into 3/4-inch wedges. Repeat with the turnips, cutting the wedges to match the size of the rutabagas.
Combine all the vegetables and the remaining garlic cloves and thyme sprig in a large bowl. Toss with 1/4 cup of the oil and and season with salt and pepper. Spread the vegetables in a large cast-iron skillet or roasting pan.
Rub the remaining oil all over the chicken. Season generously with salt and pepper.
Make a nest in the center of the vegetables and nestle the chicken in it. Cut the butter into 4 or 5 pieces and place over the chicken breast.

Put the chicken in the oven and roast for 25 minutes. Reduce the heat to 400 degrees Fahrenheit and roast for an additional 45 minutes, or until the thermometer registers 160 degrees in the meatiest portions of the bird- the thighs and under the breast where the thigh meets the breast- and the juices run clear. If necessary, return the bird to the oven for more roasting, checking every 5 minutes.
Transfer the chicken to a carving board and let rest for 20 minutes. (I should mention here that I forgot to take a picture of the chicken after I pulled it out of the oven. I am still kicking myself).
Just before serving, set the pan of vegetables over medium heat and reheat the vegetables, turning them and glazing them with the pan juices. Cut the chicken into serving pieces, arrange over the vegetables, and serve.

(This photo really doesn't do the deliciousness of this chicken justice)
Buttermilk Biscuits*
Makes 12 biscuits
2 cups cake flour
2 cups all-purpose flour
1 Tablespoon plus 1 teaspoon kosher salt
1 Tablespoon baking powder
1 teaspoon baking soda
1/2 pound (2 sticks) unsalted butter, cut into 1/2-inch cubes and chilled
1 1/2 cups buttermilk, plus 1 to 2 Tablespoons for brushing
2 to 3 Tablespoons unsalted butter, melted
Preheat oven to 425 degrees. Line a baking sheet with parchment paper.
Combine the flours, salt, baking powder and baking soda in the bowl of a food processor and pulse a few times, until the pieces of the butter are no bigger than small peas. Do not overprocess; the dough should not come together.
Transfer the dough to a large bowl and make a well in the center of the flour mixture. Pour in the buttermilk.
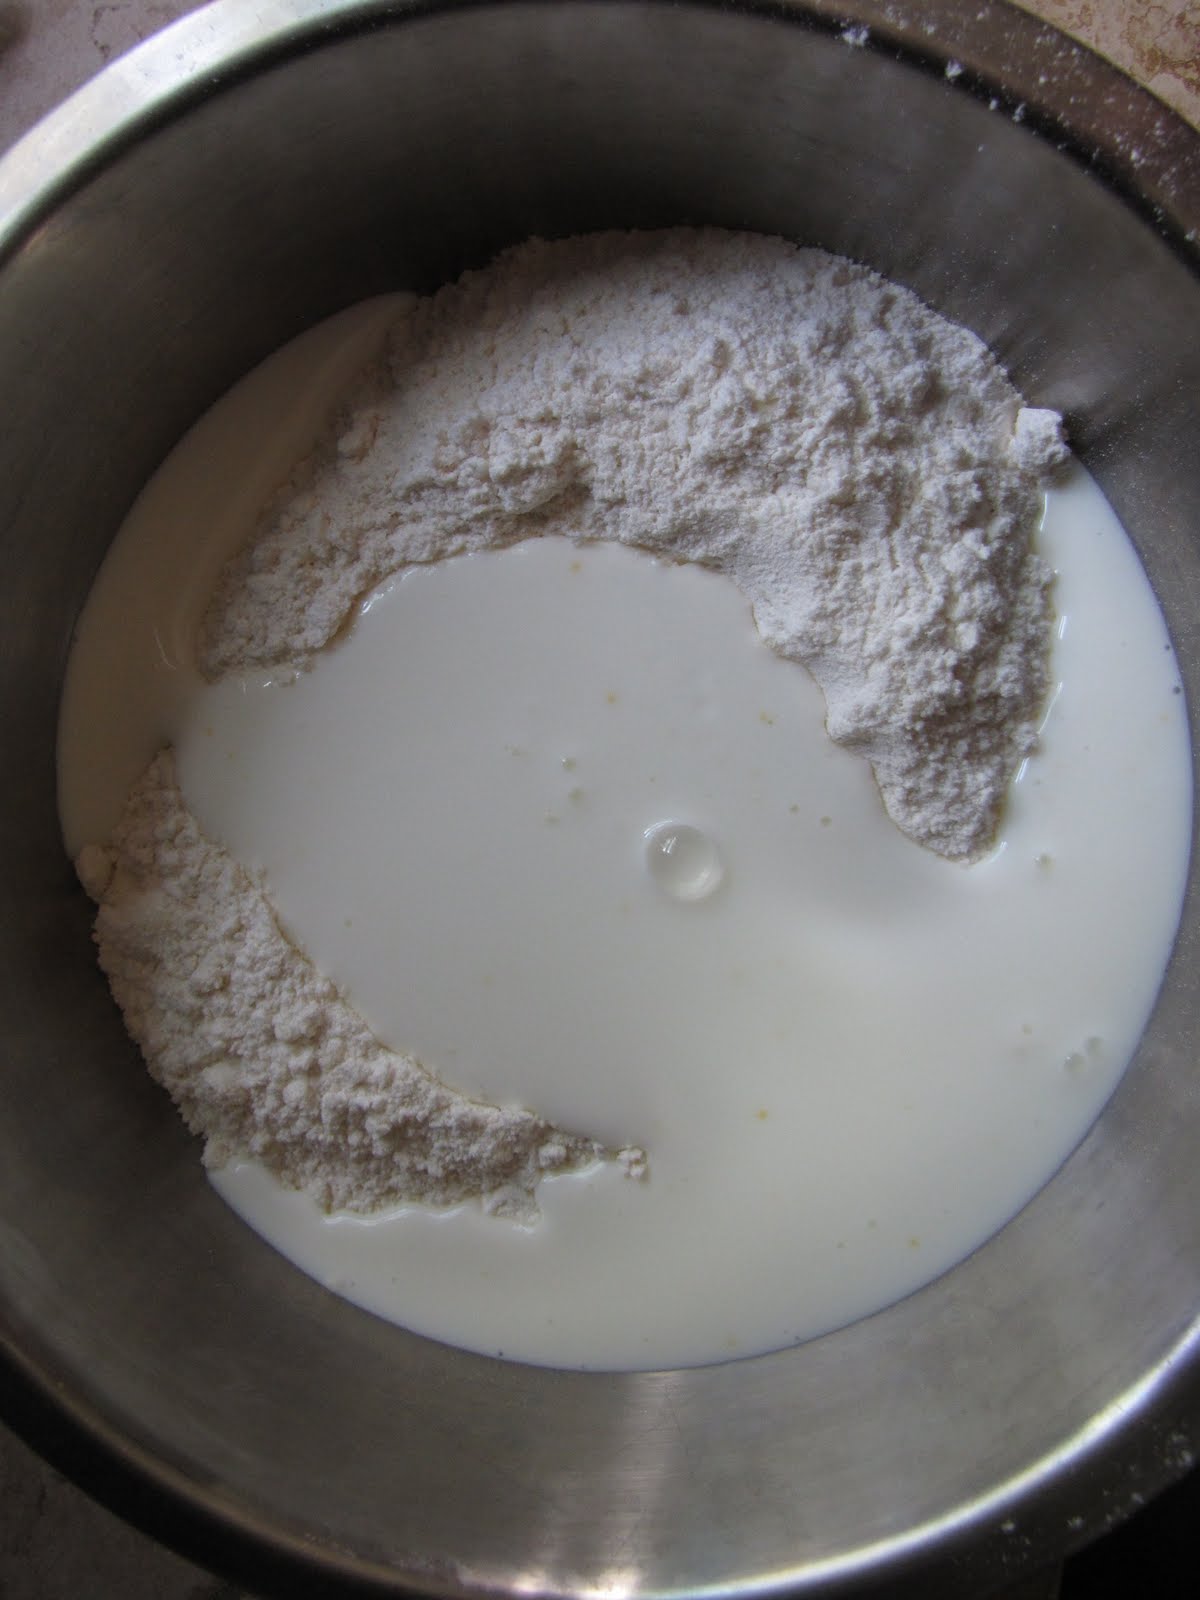
(Did I do this correctly, Chef?)
Stir and lift the mixture with a sturdy spoon, gently working the flour into the buttermilk. The dough should begin to come together but not form a solid mass, or the biscuits may be tough.

Dust a work surface with flour and turn out the dough. Pat the dough into a 3/4-inch-thick rectangle. Using a 2 1/2 inch round cutter, cut out the biscuits (if the cutter sticks to the dough, dip it in flour before cutting). Place the biscuits on the baking sheet. The dough trimmings can be gently pushed together, patted out, and cut one more time; do not overwork the dough.

Brush the tops of the biscuits lightly with buttermilk. Bake for 15 to 18 minutes, rotating the pan halfway through baking, until a rich golden brown. As soon as you remove the biscuits from the oven, brush the tops with melted butter. Serve warm.

* I used this buttermilk biscuit recipe for the strawberry shortcakes I made later in the evening. To get the strawberry shortcake recipe, as well as those for the garlic confit, mashed potatoes and mustard vinaigrette, please purchase a copy of ad hoc at home.